3 Easy Romantic Floral Hairstyles
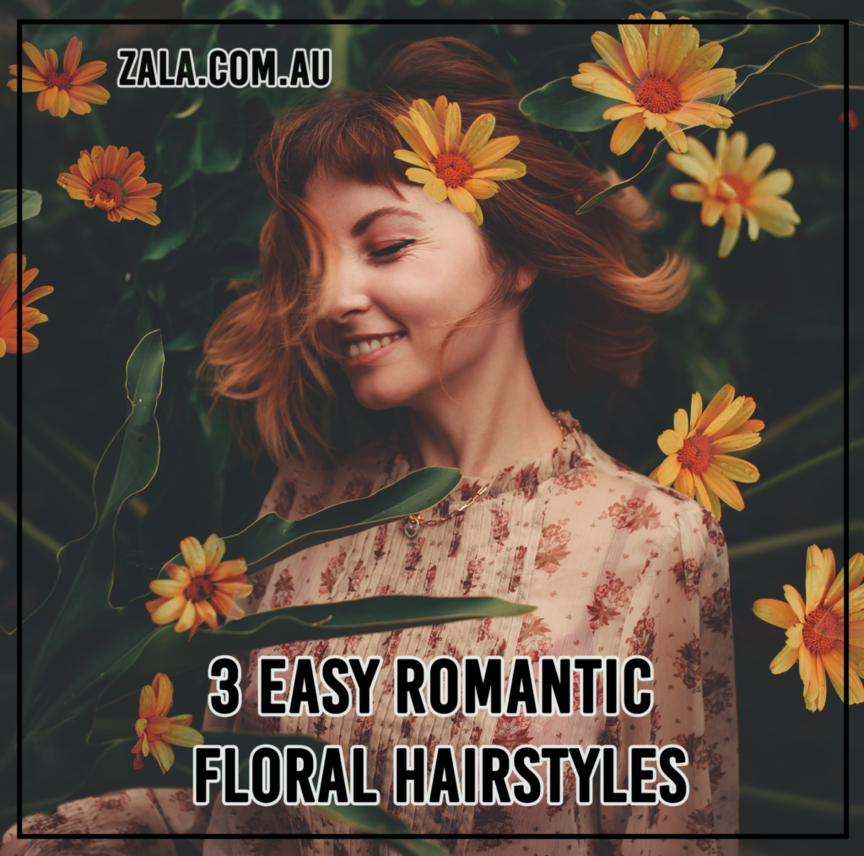
Last week, we showed you our quick guide to floral hairstyles – this time, we're showing you 3 easy romantic floral hairstyles from Pinterest that you can do all by yourself! These hairstyles are absolutely perfect for the coming Valentine's Day, too, so stay tuned!
Are you ready? Without further ado, here we go!
Half Halo Braid (@weddingforward)
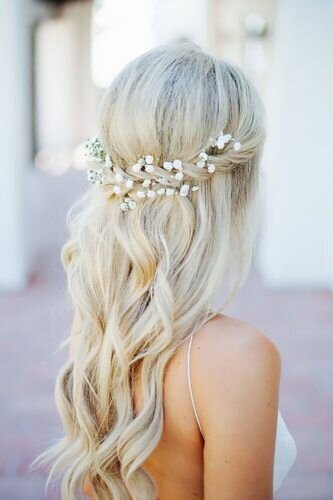
We absolutely love this look! Sure, it's simple but you can't deny that it looks really charming and romantic. Totally suitable for a romantic Valentine's date! Here's a variation of the braid that looks equally as stunning.
- Start at the top portion of your head.
- Take a small portion of your hair on one side and begin as a regular braid.
- Braid all the way to the middle part of your head. Secure the braid with an elastic.
- Move to the other side and repeat steps two and three.
- Take the other braid and put them together, securing both braids together with an elastic.
- Add the flowers as hair accessories by carefully putting them in your hair like you would do bobby pins. Smaller flowers with long enough stems work best!
If you don't have light-colored hair but would like to get the same look like the photo, you can check out our ZALA 20" Beachy Blonde Hair Extensions!
Flower Crown Updo (@missysueblog)
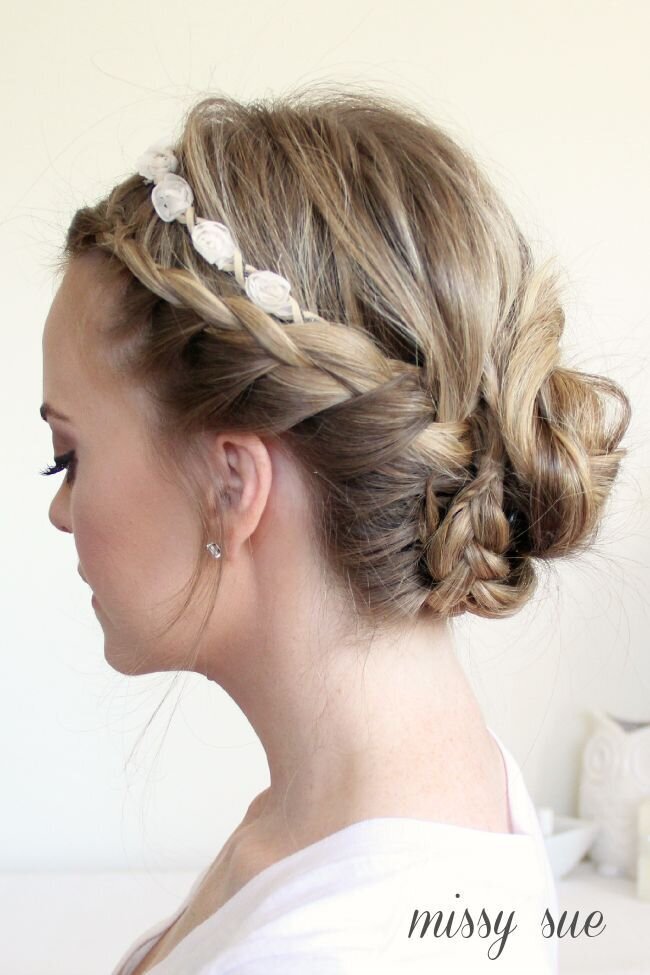
This flower crown updo is another one of our favorite romantic floral hairstyles. The best thing we love about this look is that it's completely versatile. Whether your date is casual or formal, this hairstyle is definitely not going to let you down.
- Part your hair right in the center part.
- Take a flower crown and place it on your head about 3 inches from your hairline. Tie it securely at the back.
- Begin French-braiding one side of your hair, starting from the center.
- Continue braiding until you reach the back of your ear. Once you get to that part, take some strands from the other side of the flower crown and weave it into your braid. At this point, you're essentially French-braiding with a flower crown in the middle of the braid.
- When you get to the very back of your head, braid the hair like a regular braid and secure it with an elastic.
- Repeat on the other side.
- Once the other side is done, take both braids and secure them together at the back of your head with an elastic.
- Twist the two regular braids together to create a bun. Secure with bobby pins.
Interwoven Braids (@fashionisers)
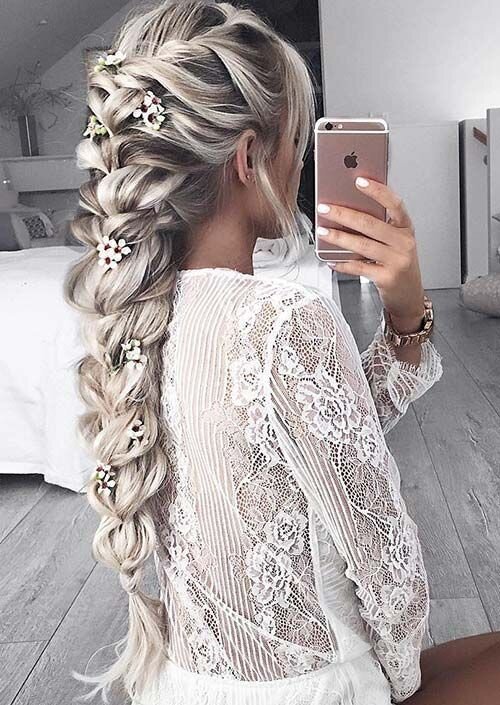
Talk about drop-dead gorgeous! This hairstyle looks really complicated, but it doesn't have to be. The main reason why her hairstyle looks so complicated is the combination of her hair colors. You can do the same thing with the ZALA Ice Queen Platinum Blonde Hair Extensions!
For this tutorial, we'll be sticking to a plain ol' French braid. Add as many hair extensions as you want to achieve the thick effect!
- Start by getting a small portion of your hair from either side of your head.
- Pull the portions to the back of your head before interweaving them with your other strands.
- Start French-braiding your hair, working your way downwards.
- Once you're done, gently pull out the sides of the braids to make them loose.
- Take your floral hair accessories and place them in your braids. Make sure to secure them with bobby pins!
Have you tried out any of these hairstyles? Let us know in the comments below! And for more romantic hairstyles, check out the ZALA blog!


